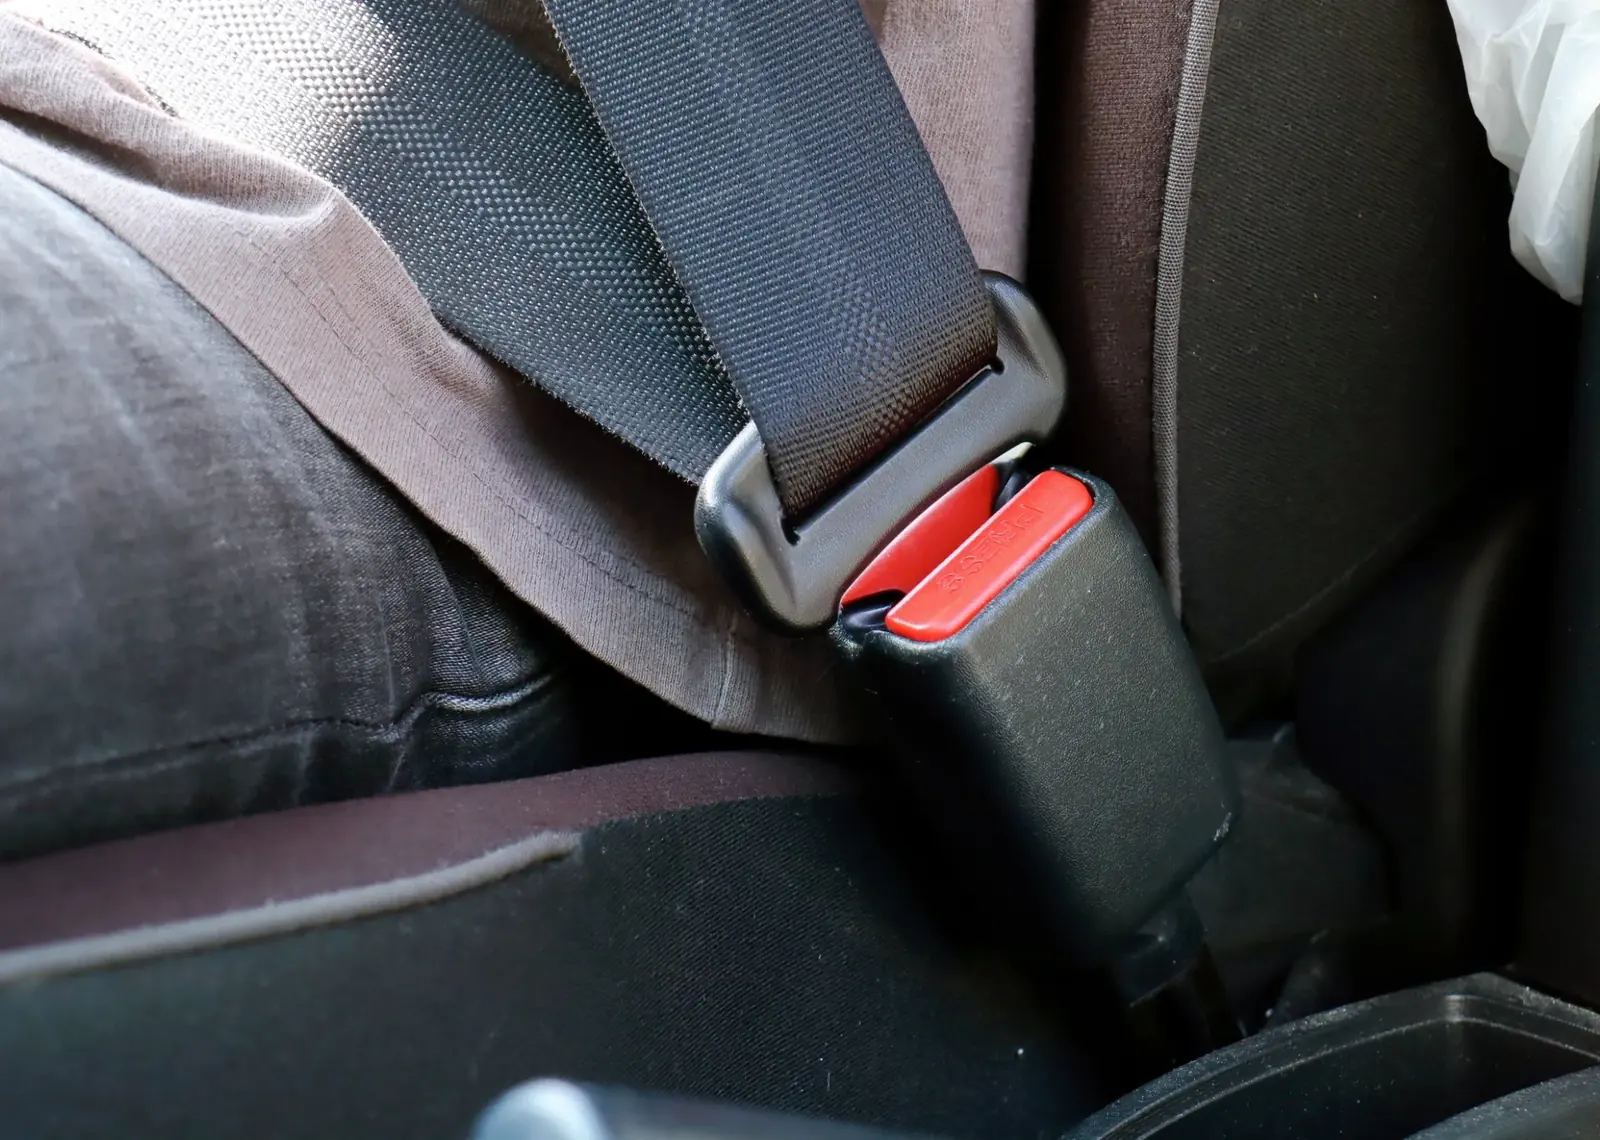
Seat belts built into working days, not just journeys
Commercial vehicle restraints face a different life from those in a private car: more cycles, rougher environments, larger cabins and fleets that need a plan rather than a one-off fix.
A restraint in a commercial vehicle does exactly what a car belt does. What changes is everything around it: how often it is used, who uses it, what the cabin is like, and what happens when it fails on a vehicle that is meant to be earning.
A delivery driver may buckle and unbuckle dozens of times in a shift. A bus belt may be handled by a different passenger every journey. A tipper working a site collects dust, grit and moisture that a private car never sees. Multiply that across a fleet, and restraint condition becomes an operational subject, not just a safety one.
This page looks at commercial vehicle seat belts from that angle — use case, environment, inspection and planning — rather than repeating the general product explanation covered elsewhere.
Cabin layout, seat size and seating count all influence which belt arrangement a vehicle was designed around.
Class A
Trucks & Tippers
Tall cabins, suspended seats and long shifts. Belt runs are longer, anchorage points sit differently, and seat suspension travel has to be accounted for in how the belt behaves.
High daily cycle count
Dust and site exposure
Suspended seat interaction
Sleeper cab variations
Class B
Buses & Coaches
Driver position plus passenger seating in volume. Passenger belts are handled by people unfamiliar with the vehicle, which makes clean latching and reliable retraction especially important.
High seat counts
Mixed passenger handling
Two- and three-point layouts
Seat-mounted arrangements
Class C
Vans & LCVs
The highest cycle counts of all in multi-drop work. Belts are used, released and used again constantly, often in a hurry, and often with the webbing catching on trim or cargo.
Very high cycle count
Bench and single seats
Crew cab variations
Load-area contact risk
Class D
Utility & Off-Road
Pickups, site vehicles and specialised equipment. Moisture, mud, chemicals and vibration all take a toll on webbing, hardware and retractor mechanisms.
Contamination exposure
Vibration and shock
Corrosion at anchorages
Seasonal duty swings
Class E
Mixed Fleets
Where several vehicle types sit under one maintenance regime. The practical challenge is consistency: knowing which belt belongs to which vehicle and keeping records that hold up.
Multiple specifications
Shared inspection routine
Planned replacement
Record keeping
Class F
Additional Seating
Crew seats, jump seats and repositioned seating. Here the belt must suit both the seat and the anchorage available, which is a question for qualified engineering input.
Non-standard positions
Anchorage dependent
Seat-specific hardware
Professional assessment
03 — Seating Considerations
Driver seats and passenger seats are different problems
The driver's position
The driver's belt is used more than any other in the vehicle and is the one most affected by seat design. Air-suspended and mechanically suspended seats move through their travel constantly, and where a belt is mounted — on the seat itself or on the cabin structure — changes how it behaves as the seat moves.
Practical consequences worth noting:
Webbing may run against seat trim or a console edge, causing localised wear.
Retractors work harder simply because of cycle count.
Adjusting seat height or position can change how the belt sits across the body.
Drivers in heavy workwear may need the belt routed with more care to keep it flat.
Passenger and crew positions
Passenger belts are used by people who did not choose the vehicle and may not use it again. That makes obvious, easy operation more important than anywhere else: a buckle that latches cleanly first time, and a retractor that presents the webbing without a fight.
Points that commonly come up:
Bench seating may combine different belt types across one row.
Centre positions vary between two-point and three-point arrangements by vehicle.
Belts stowed under cushions or behind trim get damaged without anyone noticing.
Rarely used positions still need inspecting — low use is not the same as no wear.
04 — Duty Cycle & Environment
What actually wears a commercial belt out
Wear on a restraint is not really about age. It is about how many times the mechanism has cycled, what has been dragged across the webbing, and what the environment has deposited into the hardware.
Cycle countEvery latch and release is a cycle; multi-drop work generates them fast
AbrasionWebbing rubbing on trim, door shuts, seat frames or cargo edges
ContaminationDust, grit, mud, oil and cleaning chemicals reaching the buckle or spool
MoistureRepeated wetting and drying, particularly where webbing retracts damp
UV exposureLong hours in strong sunlight affecting webbing over time
VibrationConstant low-level movement working at mountings and fasteners
No universal wear rate. We do not publish figures for how long a commercial belt lasts, because it depends entirely on the vehicle, the work and the environment. Condition-based inspection is more meaningful than any assumed interval.
Lap section · Seated position
The lap section carries the highest load in most arrangements and takes the most contact with clothing, seat edges and workwear.
05 — Inspection Practices
A practical checklist for fleet inspections
A structure for what to look at and what should trigger escalation. It supplements — never replaces — the vehicle manufacturer's schedule and any inspection requirements that apply to your operation.
Restraint condition checks — what to look for and when to escalate
Component
What to check
Escalate to a professional when
Webbing
Run the full length through your hands; look at both faces and both edges, especially where it passes a guide or trim edge.
Cuts, nicks, fraying, burns, stiffening, heavy staining or visible fading.
Buckle
Latch and release several times; listen for a positive click and feel for a clean release.
Repeated attempts needed, weak or absent click, self-release, or force needed to release.
Tongue
Check the plate for deformation, scoring or sharp edges, and that it slides on the webbing as designed.
Bent or damaged plate, or a sliding tongue that binds on the webbing.
Retractor
Draw the belt out fully and let it return; check take-up is complete and smooth.
Slow or partial retraction, jamming, or locking during ordinary use.
Anchorages
Look for movement, missing covers, corrosion or damaged trim at each mounting point.
Any perceptible movement, visible corrosion or damage around a mounting.
Whole assembly
Confirm the belt lies flat, is not twisted, and does not catch on trim, seat mechanism or door.
Persistent twisting, trapping, or any belt worn during a collision.
Table scrolls horizontally on small screens.
06 — Replacement Planning
Planning beats reacting
Restraint faults tend to be found at the worst moment — during a check, before a shift, with a vehicle needed. A little structure removes most of that pressure.
STEP 01
Record what you have
Vehicle, seating position and belt details, including any part markings. Knowing what is fitted is the prerequisite for replacing it quickly.
STEP 02
Inspect on a rhythm
Fold restraint checks into an existing routine rather than creating a separate one — they are far more likely to actually happen.
STEP 03
Group the enquiries
Where several vehicles share a specification, handling them together is simpler than raising each one separately as it fails.
STEP 04
Fit it properly
Installation follows the vehicle manufacturer's anchorage and torque specification, carried out by qualified personnel. This is not the stage to improvise.
Where regulation applies. Commercial operations may be subject to inspection, maintenance and record-keeping requirements specific to their region and vehicle category. Those requirements — and your vehicle manufacturer's documentation — always take precedence over general guidance on this website.
07 — Fleet Enquiries
What to send for a commercial vehicle requirement
Commercial enquiries are usually easier to answer than single-vehicle ones, because the information tends to already exist in maintenance records. The following covers most cases:
Vehicle make, model, body or cabin type and year, for each vehicle or group.
Seating positions involved, and how many of each.
Whether complete assemblies or specific components are needed.
Total quantity, and whether it is a one-off or a recurring requirement.
Photographs of the existing belts and mountings.
Any part markings or fleet specification references you hold.
Quick summary
Best forTrucks, buses, vans, utility and mixed fleets